Note: Children often cry during pressure massage – the pressure itself does not hurt, it is just uncomfortable and restricts the child’s movement. Therefore, try to think of a “reward” and direct the child’s attention elsewhere.
All three practices complement each other. Only by combining them will you achieve better scar healing.
Q&A
-
- has an impact on the final character of the scar and therefore on the functional and aesthetic outcome after the injury;
- its effect is produced by two basic mechanisms:
Mechanical action, which leads to the disruption of chaotic collagen fibres and the reduction of non-bacterial inflammation in the scar. The positive effect of massage on the lymphatic drainage from the wound and thus on the reduction of swelling is essential.
Reflex action on free nerve endings in the scar. This relaxes the muscles and releases “happiness hormones” such as serotonin.
-
It is best to start when the wound is fully healed. If pressure massage is started too soon, it risks reopening the wound. The freshly healed area is very fragile. Excessive pressure (especially frictional pressure) can mechanically damage the scar. However, every scar is different and must be treated individually.
In clinical practice, we therefore recommend starting massage very carefully at an interval of at least 10 days after the closure of the wound. As part of the massage, it is recommended to use an emollient (e.g. cream) to allow smoother finger movement over the scar and reduce the risk of skin damage.
-
As a standard, patients are advised to massage for about 10-15 minutes 2-3 times a day while the scar is maturing, i.e. 1-2 years after the injury (while the scar is still active – you can tell by the red colouration in the scar).
-
- Initial phase (from about day 10 after healing)
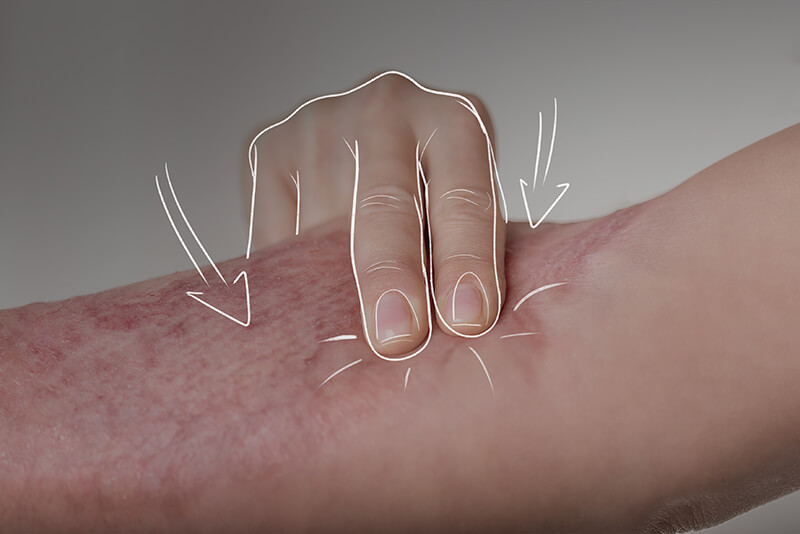
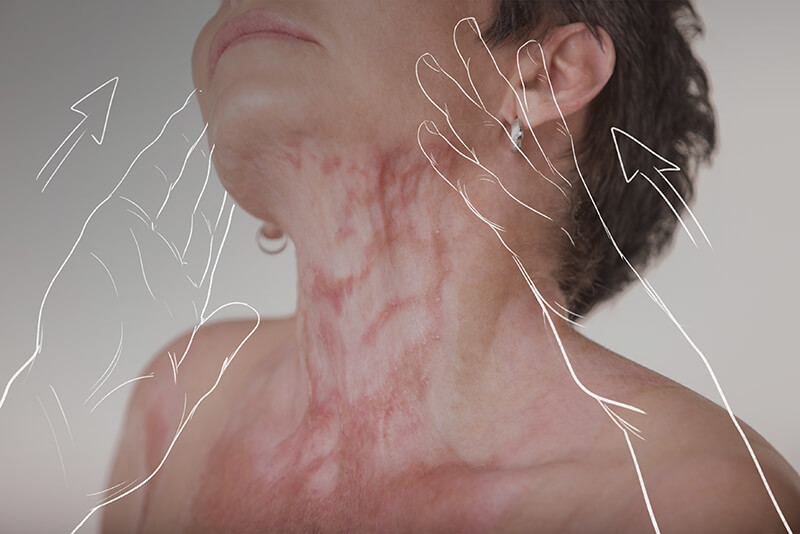
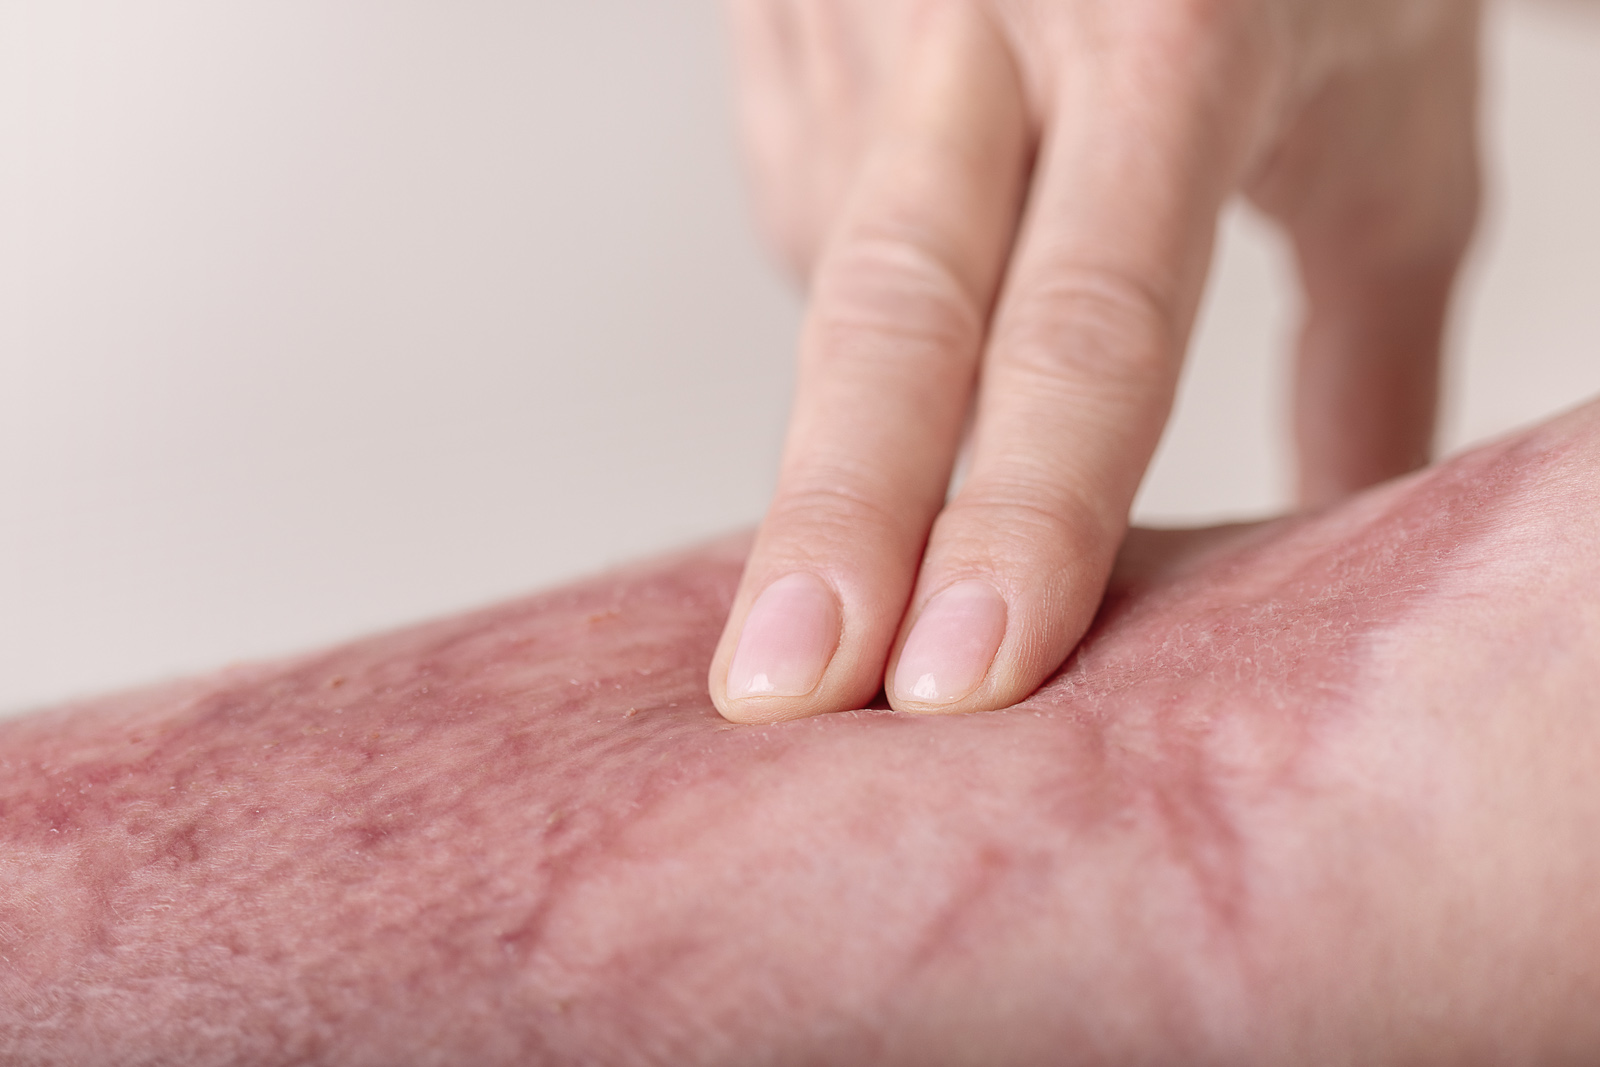
Gently squeeze the scar with the pads of your fingers to fade it. Count to 15 and then release. Work from the edges of the wound towards the heart (lymphatic drainage). (Image 1) - phase of cover strengthening (about 2-3 months after healing)
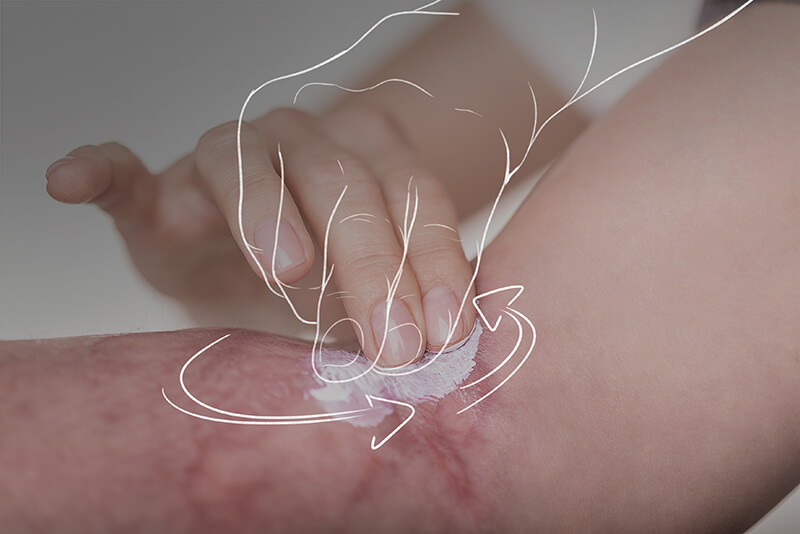
Add circular rhythmic movements.
Add parallel movements.
Add transverse movements. - deep mobilisation phase (rolling)
Take the scar between your thumb and index finger, form an eyelash and move it gently against the base. However, this technique requires a firm scar that can withstand relatively large mechanical deformation. The advantage is that there is a loosening of the deep adhesions of the scar to the muscle.
- Initial phase (from about day 10 after healing)
